


The short, encouraging answer is a resounding yes. Altering the hem of your jeans is not only possible but is one of the most accessible entry points into the world of clothing modification. It is a practical skill that demystifies the tailoring process, saves money, and offers a deeply satisfying sense of self-reliance. While the prospect may seem daunting, especially when faced with the thick seams of denim, the process is straightforward with the right tools, a bit of patience, and a willingness to learn.
The journey begins with understanding the “why.“ Perhaps you found the perfect vintage pair but they drag on the ground, or maybe fashion trends have shifted and your favorite jeans need a contemporary crop. Standard lengths rarely account for individual height and style preferences, making a custom hem a personal necessity. By learning to do it yourself, you gain complete control over the final look, deciding between a classic clean hem, a raw-edge fray, or even reattaching the original factory hem for a professional, store-bought appearance. This empowerment transforms your relationship with your wardrobe, turning ill-fitting items into personalized favorites.
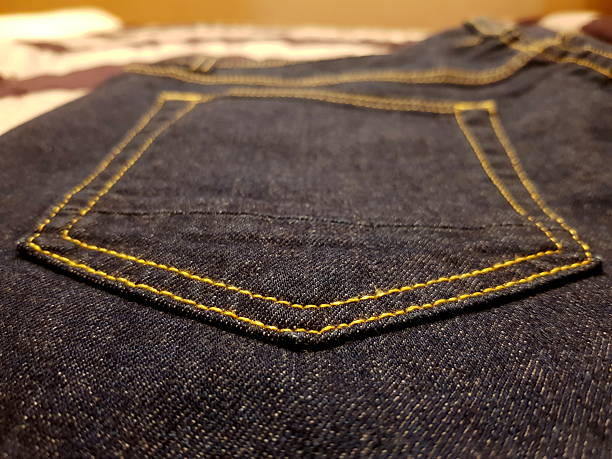
Success hinges on preparation. The essential tools are few but important: sharp fabric scissors, pins or fabric clips, a ruler or measuring tape, tailor’s chalk or a washable marker, and a sewing machine with a denim or heavy-duty needle. Hand-sewing is an option for the very determined, but a machine will provide the durability needed for denim’s robust fabric. Crucially, you must wash and dry the jeans first to pre-shrink the fabric, preventing a future hem from becoming unexpectedly short. The most critical step is measuring accurately. The best method is to put the jeans on, fold the hem to the desired length, and pin carefully, ensuring both legs are even. Taking the time to measure twice will prevent the frustration of a lopsided result.
The actual alteration process involves two main approaches. For a simple new hem, you trim the excess fabric—leaving about an inch and a half for the fold—then press and stitch. The thickness of denim, particularly at the side seams, is the primary challenge. Go slowly with your machine, using your handwheel to navigate over these bulky areas. For those who cherish the original, often contrast-stitched hem, the “original hem” or “jean-hemming” method is a game-changer. This technique involves cutting the jeans above the existing hem, shortening the leg from the top, and then reattaching the original hem. It requires more precision but preserves the authentic look perfectly, making your alteration virtually undetectable.
Of course, initial attempts may come with imperfections—a slightly wobbly stitch line or a fold that isn’t perfectly flat. This is part of the learning curve. Practice on an old, unworn pair first to build confidence. Remember, most minor flaws will be invisible when you’re standing and moving. The beauty of DIY is that it is forgiving; if a mistake is truly glaring, you can always trim and try again, or in a worst-case scenario, create a shorter, raw-hem style. Each pair you complete will build your skill and refine your technique.
Ultimately, altering your own jeans hem is a highly achievable and rewarding endeavor. It breaks down the barrier between consumer and creator, allowing you to actively participate in the lifecycle of your clothing. Beyond the financial savings and the perfect fit, there is an undeniable pride in wearing something you have personally tailored. So, gather your tools, select a pair that languishes in your closet, and take the first snip. You will discover that not only can you alter your jeans, but you can also alter your perception of what is possible with your own two hands.